

Outlines used in writing are similar to scaffolding that’s used in construction.
Despite what you may believe (or have been told), there is really nothing “magical” about writing. It’s a skill that can be taught. I would say it’s more “craft” than “art” … although writing that’s done well does fall under the category of art, I think.
But even good writers use tools to help them in their writing projects.
I’m sharing 5 of those tools with you in this issue, 4 of which can be used for any medium- to long-form piece of writing, including articles, blog posts, case studies, and newsletter content.
The fifth tool is something that normally gets used only when you’re actually laying out the content yourself, usually in a print format (as in a newsletter you send to subscribers via “snail mail” or in a magazine or eBook).
OUTLINES
Outlines are probably used more often by authors of nonfiction than by those who write fiction or short pieces of content. Some writers swear by them, while others don’t use them at all … no matter how long the content!
Many writers fall somewhere in between the two extremes, myself included. When I know I need to include several different sub-topics in an article, I often write those down and fill in the content for each of those sections before writing the introduction. Not always, though … it just depends on the topic.
This tool is different from the others in that it has more to do with the preparation that goes into a writing project. The outline acts kind of like scaffolding in a building that’s under construction.
Once your outline is in place, you can figure out where all the pieces go. Basically, it helps you stay organized.
I’ve also found that creating a simple outline for an article I need to write can help me move past “writer’s block” since seeing the words on paper (or in my computer) often gets me into “writing mode” more quickly than might happen otherwise.
(When I was still in school, before I learned how to really use outlines, I used to spend 10-15 minutes doodling on a piece of paper to “loosen my creative juices” before starting to write. That helped a LOT.)
SUBHEADS
Continuing with the construction analogy I used above, think of subheads as load-bearing walls that support the framework created in the outline and help guide the reader through large chunks of information.
Whenever you write an article that is more than 700 or 800 words in length, it’s a good idea to insert at least one or two subheads.
Whether the article is going to be read in print or online, subheads make it easy for a reader to scan the content and quickly decide if they want to go back and read the whole article (i.e., the words between the subheads).
BULLETS
Bullets are tools that serve as the steps (stairways) in your content. They work well when you’re listing several items in a sentence. I think it’s helpful to use them even with 3-item lists … SO much easier to read that way!
Bullets are especially important with online content, since they make it easier to quickly scan text.
SIDEBARS
Sidebars are a GREAT way to add information that doesn’t really fit into the main article you’re writing.
An editor who published an article of mine 4 years ago in her quarterly magazine created a sidebar by extracting one section of the article I’d written into a sidebar that ran on one of the pages my article was printed on. (The sidebar focused on a special event that was taking place soon, which helped draw more attention to it.)
Because sidebars (which are often set apart from the rest of the text by being placed in a frame or a shaded box) usually contain important pieces of info that might otherwise be overlooked, you could consider them as pieces of décor that grab your attention when you walk into a home.
PULL QUOTES
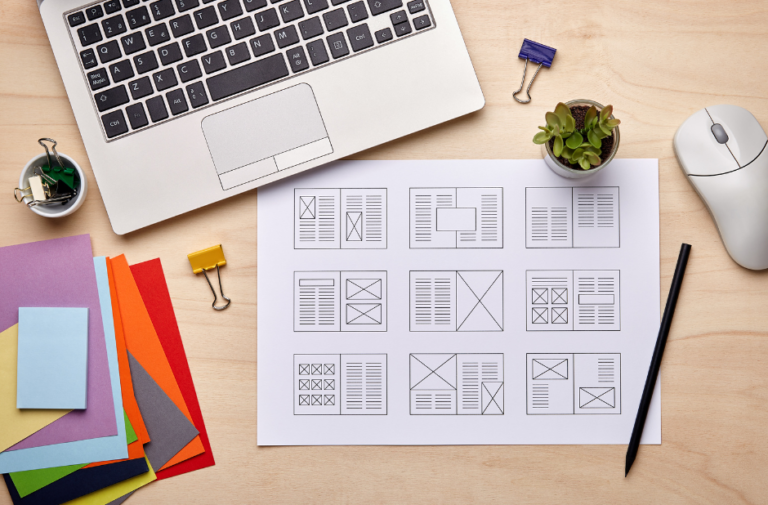
These are the tools I mentioned at the beginning … which you’re likely to use only if you’re handling the layout of your own content.
They’re easily created. All you need to do is choose a phrase or sentence in the article that contains a message you don’t want readers to miss, then decide how to make the words “stand out.”
Playing with graphic design in order to set a quote apart from the other text on the page (like, maybe, adding a thick line off to the side and/or enlarging the font size of the pull quote) is a fun way to add even more value to your writing. And, similar to sidebars, they add a nice touch of décor to your “home” (aka your published content).